


Page 1 of 1: Syncronizing and merging subtitles into an AVI file
Syncronizing and merging subtitles into an AVI file
Software
Needed,
Subcreator: http://www.radioactivepages.com/english/subcreator.html
Virtualdub:
http://www.virtualdub.org/download
v1.5.10 (stable)!!!
Subtitler
Filter: http://www.virtualdub.org/virtualdub_filters
v2.4!!!
GSpot: http://www.headbands.com/gspot/download.html
Divx Codec: www.divx.com
First you'll have to download
subtitles of course. Usually they are .srt files.
Install Subcreator
Open
subcreator, you'll see this configuration window first, click next.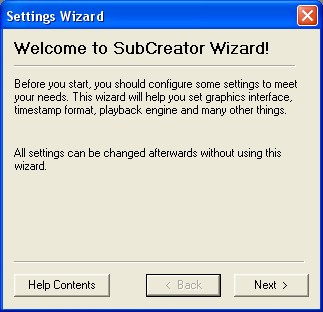
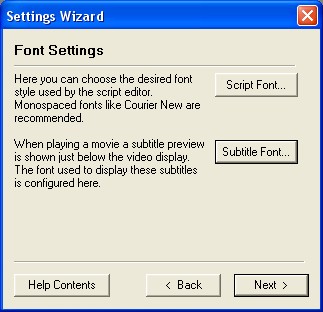
You don't have to change the subtitle font here yet, we'll do that later.
You
can leave the general settings as they are, click next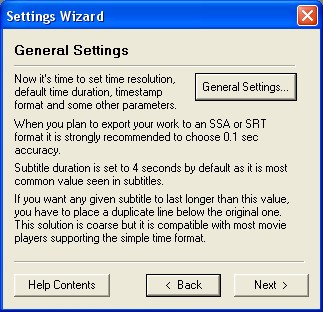
Choose
the second option, Windows Media Player Active X, this will work properly. Clcik
FInish.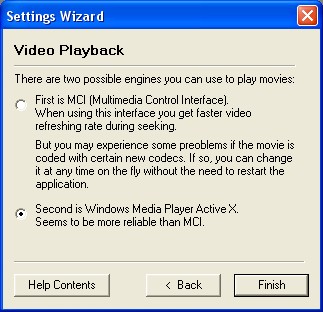
Click open in the file-menu.
You'll have to open the srt file you downloaded. Click convert when it asks
to.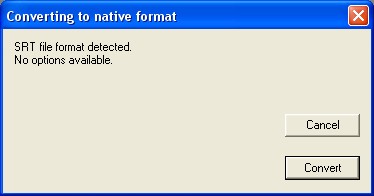
Now you'll have to open
the movie file, go to movie -> open
Syncronizing:
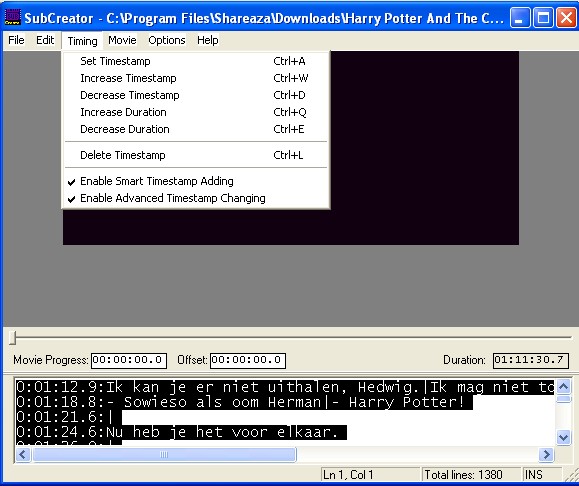
To
syncronize the subtitle, go to the textbox, rightclick, click on select all.
Then
go to Timing, and Increase timestap (if the subtitles appear too early) or Decrease
timestamp (if the subtitles appear too late).
(Make sure that Advanced Timestamp
Changing is checked!)
When you syncronized the
subtitles, click on File -> Export, select SSA Format
Go to font and select
Tahoma, 24, Bold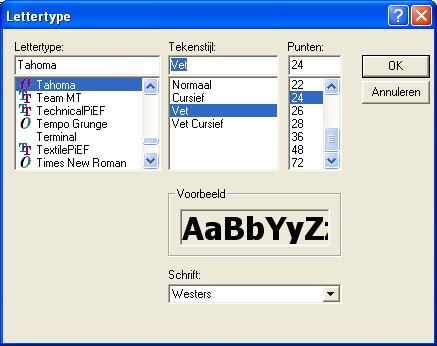
Make sure you use the same
colours (look at the four colored squares) as in the picture.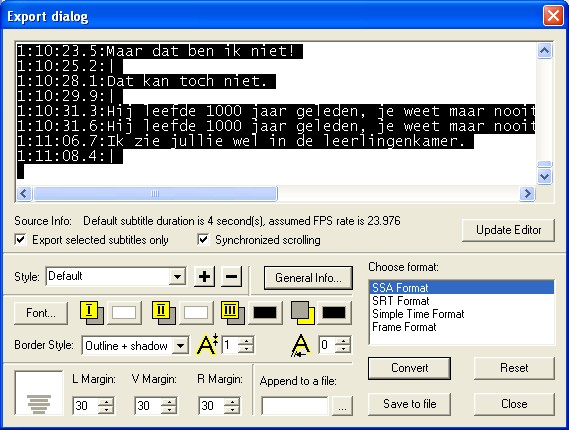
Click
General Info, and click on Get from Movie (If you don't, you'll get an error
in Virtualdub)
Then click convert, and then click Save to File.
Gspot
When
you installed GSpot, open the program, go to file -> open. Write down the
audio bitrate, in this picture, it's 157 kb/s.
Above the bitrate you see
what audio codec is used. Usually this is MP3, if not, read the small guide
at the end of this page, and proceed normally.
Also write down the runtime,
in this case 01:11:31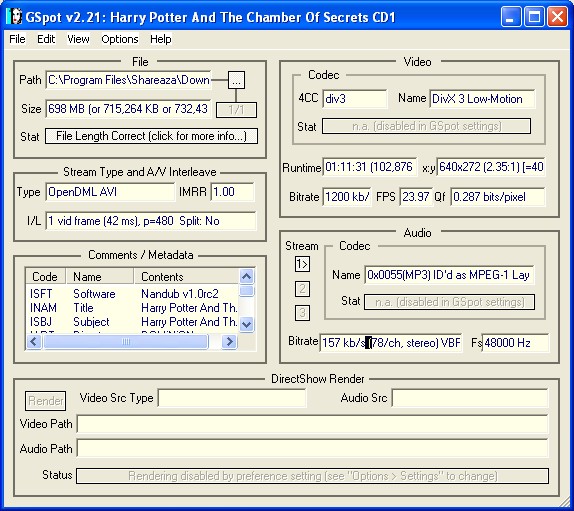
Virtualdub:
First
you'll need to unzip the Virtualdub package.
Second
you need to install the subtitler filter! Unzip the package into the plugins
folder in your Virtualdub map.
Open Virtualdub, click file,
click open video file.
Then check in the videomenu, if full processing mode
is checked and in the audiomenu if Direct Stream Copy is checked.
Go to video
-> filters -> add
Choose subtitler and press ok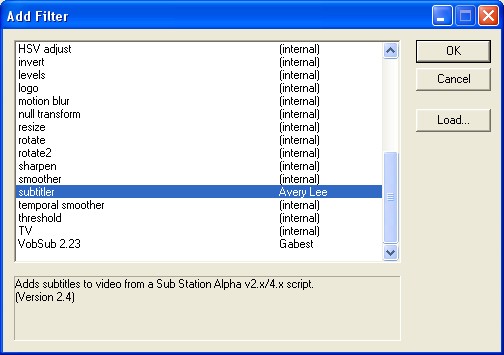
You'll
get a pop-up, click on the button, near the text box and open the subtitle (ssa)
file, we saved earlier. Then click ok.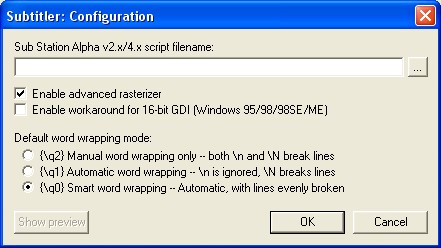
If
you see two black boxes and one is not fully visable, rightclick in the first
box, choose 25%, then maximize the screen. Go to options -> uncheck display
input video.
(If you want to see, what the result would be like, click on
the play icon with the O in it)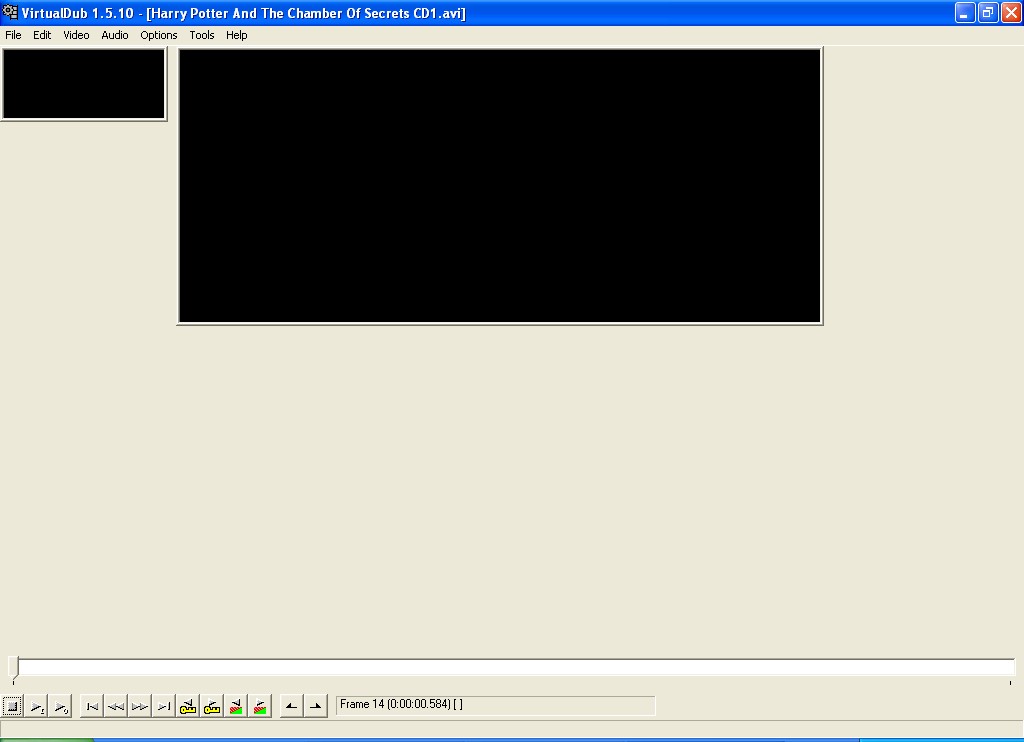
Make sure
you use a compression! Otherwise the file will be very very big. Go to Video
-> Compression. Choose Divx. Go to configure. Change the speed of compression
into normal, for the best quality of video.
In this screen you also have
to enter the bitrate.
Bitrate
Calculator:
Go to this
site http://www.videohelp.com/calc.htm.
Change type into Divx. Change audio bitrate into the one you wrote down.
Change the length (runtime) into the one written down. Enter the number of CD's
you want to use (if you are not going to write the file on CD, just enter 1)
and the filesize.
Write the calculated bitrate down.
Use this video bitrate at the Divx compression configuration window.
To save your
Avi file, go to File -> Save as avi -> enter name, -> Save
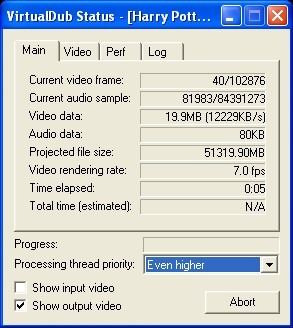
When
you get this screen, make sure you select Even higher to get the fastest result
(this will not affect the quality of the video)
(Don't choose highest, because
Virtualdub could crash then)
That's
all!
By:
Robin ;)
(For any support, just e-mail me in Dutch or English)
Extra:
If
the audio codec is not MP3.
When you're
at the Bitrate calculator screen, enter the bitrate you want to use. (320 is
highest, I recommend 160 for movies. Don't use a lower bitrate then 128!)
When
you have chosen the bitrate and entered it succesfully, go to the audio
menu, select Full Processing Mode, and go to compression. Select MP3, and choose
in the right screen the bitrate.
